Module 2 – Chapter 11 – part 2

Stage A – translating paper designs into fabric.

For this stage I used the fabrics that I had decorated previously with different stitching patterns.

imageimage

Image 11.14

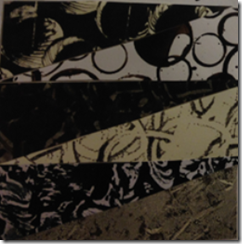
Image 11.14 shows the fabric version of Design 5 (shown alongside).  For this sample I used mainly forward facing seams and two fabrics in contrasting tones.

 image image

Image 11.15

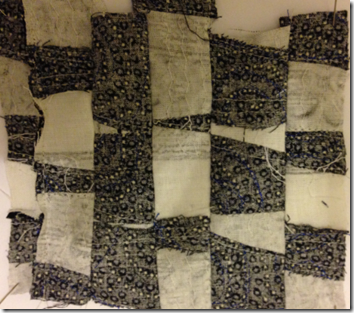
Image 11.15 shows the fabric version of Design 6 (shown alongside).  For this sample I used mainly forward facing seams and three fabrics in contrasting tones.  Image 11.16 below shows the reverse of this sample i.e. the side with the backwards facing seams.  It is easier to see the pattern on this side in order to compare it to the paper design.  I thought that the effects created by the decorative stitching were quite effective on this sample i.e. the swirly stitching gave a good representation of the circular prints on the paper design.

image

Image 11.16

Image 11.16 shows the ‘tidy’side of the sample shown in 11.15

image image

Image 11.17

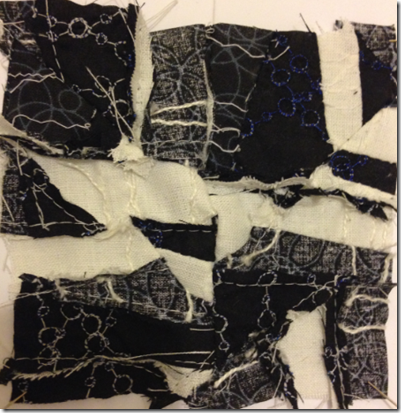
Image 11.17 shows the fabric version of Design 9 (shown alongside).  For this sample I used mainly forward facing seams and three fabrics in contrasting tones.  I was very pleased with the effects created by the decorative stitching on this sample.  The couched threads and embroidery stitching gave a good representation of the patterns in the paper design.

image image

Image 11.18

Image 11.18 shows the fabric version of Design 19 (shown alongside).  This was a development of the sample shown in 11.17.  For this sample I used mainly forward facing seams and three fabrics in contrasting tones.  On this piece I added rows of couched threads alongside one of the seams in order to make it more dominant.  I chose to do this in order to represent the strong vertical lines as seen in the paper design.

image

Image 11.19

Image 11.19 shows a further development of  the sample in 11.18 whereby the sample has been cut in 4 diagonally and rearranged.


Stage B

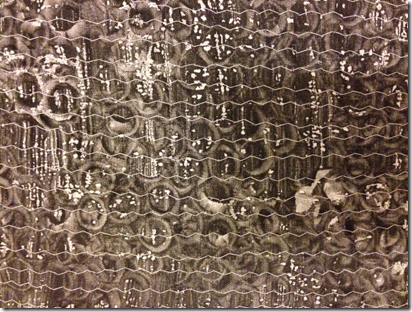
At this stage I needed some more decorated fabrics and so I created the two fabrics below.
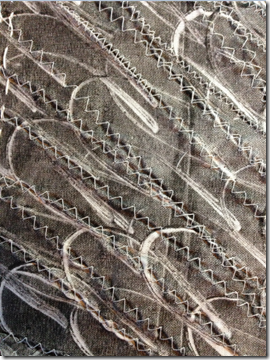
image Image 11.20 – monoprinted fabric decorated with rows of zig-zag stitch

image

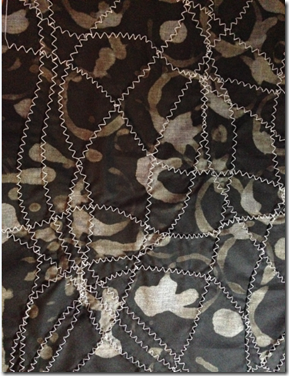
Image 11.21 – black fabric with pattern created by bleaching.  Decorated with zig-zag stitch.

The final sample for this stage was created in three parts, similar to the paper sample in Chapter 10.  Image 11.22 below shows the sample which has a simple design at the top, a slightly more developed design in the mid-section and a much more developed design in the bottom section.

image

Image 11.22

I used mainly front facing seams for this sample and was very pleased with the textures and patterns created by the combination of the monoprinted and bleached fabrics, the decorative stitching, the seams and the mosaic effect of the smaller fabric pieces in the bottom section.  Image 11.23 below shows the reverse side of this sample.

image

Image 11.23 – reverse of sample 11.22.

Module 2 – Chapter 11 – part 1

Further design exercises leading to fabric samples

The first part of this chapter involved arranging, cutting and rearranging printed paper strips to create patterns.

image Image 11.1

Image 11.1 shows three designs. 

Design 1:  I used dark bold patterned papers. Despite the similarity of tone, a contrast was still produced as the patterns were quite different.

Design 2:  I used pale patterned papers. The contrast was less in this design and, as a consequence, I think it was a less interesting design.

Design 3:  I used dark heavily patterned papers.  Once again, the contrast was not strong in this design.

image Image 11.2

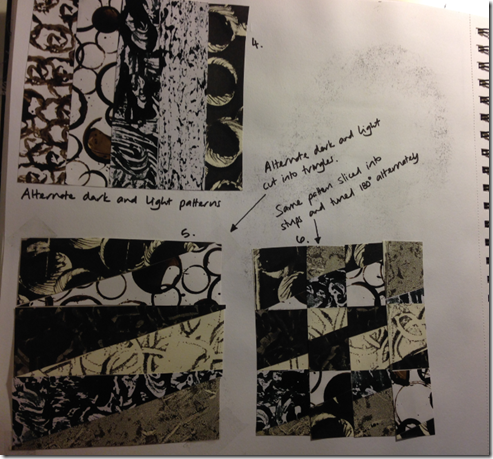
Image 11.2 shows designs 4, 5 and 6.

Design 4: In this design I tried to use alternate dark and light patterned papers. 

Design 5: Once again I used alternate dark and light patterned papers.  I then cut the strips into triangles and repositioned them.

Design 6:  this is a development of number 5 whereby I sliced the design into strips, turned alternate ones 180 degrees and rearranged them.  I was pleased that, with such a simple technique, a quite interesting, animal-print like pattern was created.

image

Image 11.3

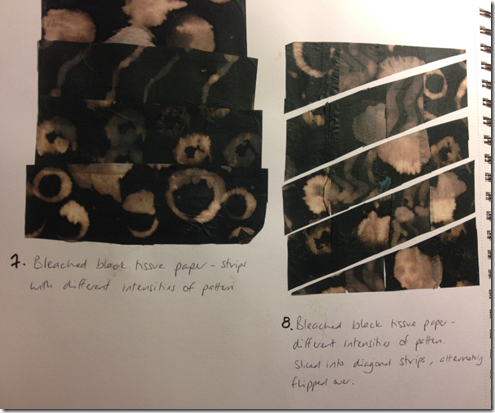
Image 11.3 shows design 7 and 8.

Design 7:  made with strips of black tissue paper with a bleached pattern.  The strips had different intensities of pattern.

Design 8:  this was a development of design 7 where I cut the piece into diagonal strips, and flipped alternate strips.

image

Image 11.3

Image 11.3 shows designs 9, 10 and 11. 

Design 9:  this design was made using three papers with the same pattern in different depths of tone.  The pieces were stacked on top of each other, cut into triangles and reassembled.  I was very pleased with this effect as the changes in tone provided contrasts whilst the similar pattern added consistency to the design.

Design 10:  this was a development of number 9 whereby the piece was cut into strips and the strips were flipped alternately and repositioned.  I was pleased with this effect and felt that it gave a good representation of some of the butterfly wings that I had studied earlier in the module.

Design 11:  this was also made by stacking strips on top of each other, cutting them into triangles and reassembling.  I used papers with three different tones – dark, medium and light.

image

Image 11.4

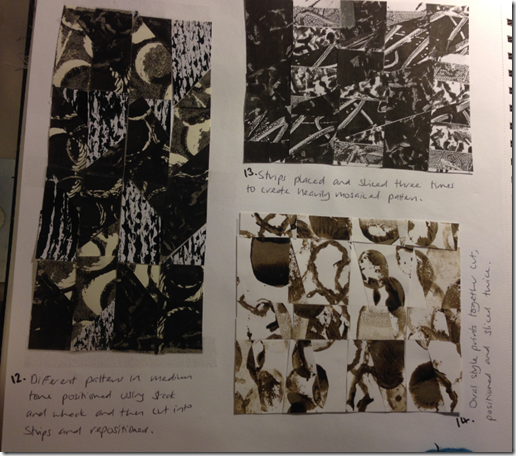
Image 11.4 shows designs 12, 13 and 14.

Design 12: I used papers with a medium to dark tone, made a stack and whack design and then cut the design into strips and repositioned them.  This produced quite an interesting and varied design.

Design 13:  Once again I used papers with a medium to dark tone.  These were positioned in stripes then cut and repositioned three times to create a mosaic pattern.

Design 14:  this design was made using papers that all had an oval print on them in different sizes.  It was placed in stripes and then cut and repositioned twice.  This created quite a natural looking design which could represent an animal print.

image

Image 11.5

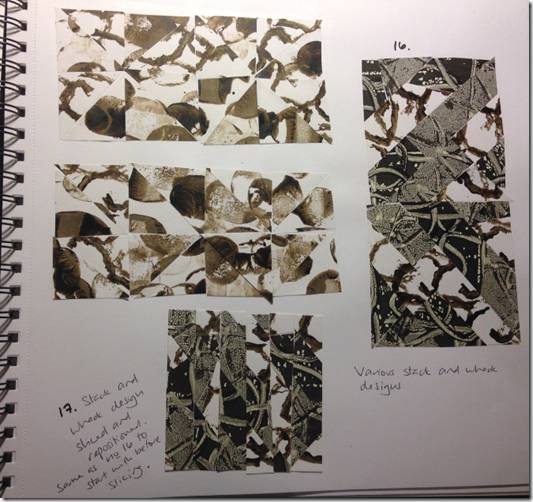
Image 11.5 shows designs 15, 16 and 17.

Design 15:  This was created using the same papers as in design 14 positioned using a stack and whack method.

Design 16:  This design is made with papers with contrasting tones using a stack and whack method.

Design 17:  This was a development of design 16 whereby the piece was sliced vertically and repositioned. 


Monoprinted and patterned fabrics decorated with rows of stitching

In preparation for the next exercise I decorated some fabrics with rows of stitching shown below.

imageImage 11.6 – Machine embroidery stitch repeated in random directions on plain black fabric

image

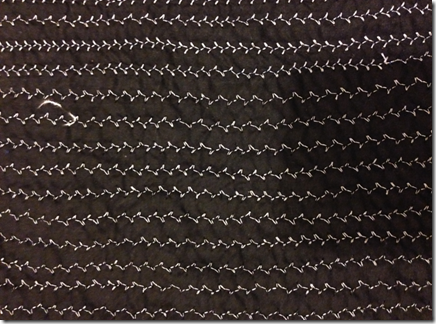
Image 11.7 – rows of machine embroidery stitch on plain black fabric

image

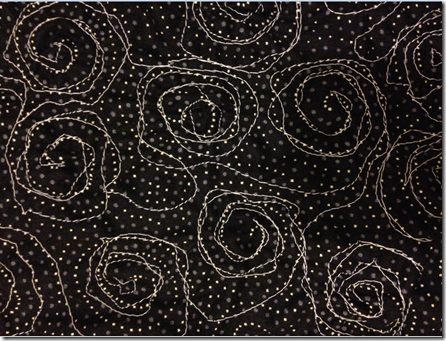
Image 11.8 – swirls of machine stitch on patterned fabric

image

Image 11.9 – hand stitch rows using thick black thread on monoprinted fabric

image

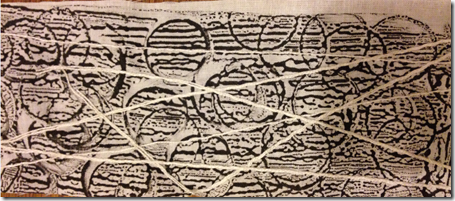
Image 11.10 – white thread couched onto monoprinted fabric

image

Image 11.11 – white thread couched onto white fabric

image

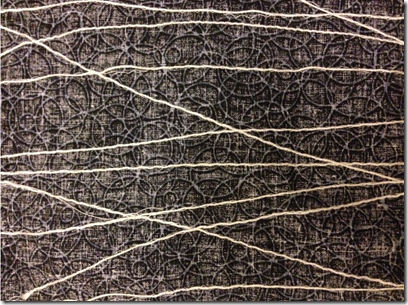
Image 11.12 – white thread couched onto the reverse of patterned black fabric

imageImage 11.13 – rows of zig-zag stitch on monoprinted fabric.