Quilting, padding and stuffing
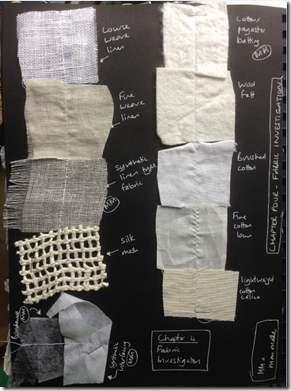
Wadded quilting: this is the method of quilting with which I am most familiar i.e. three layers stitched together.
Image 5.1 – cotton lawn top, cotton wadding, calico base. Stitched in grid design using contrast thread
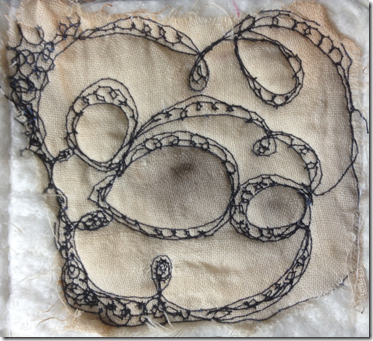
Image 5.2 – a scrap of eco-dyed scrim top, cotton wadding, calico base. Stitched using contrast thread using free machine embroidery.
 Image 5.3 – brushed cotton top, double layer of cotton wadding, calico base. Stitched using white cotton. This produced a very soft sample with quite high loft due to the double layer of wadding and the softness of the fabric.
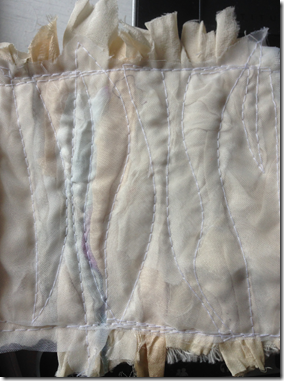 Image 5.4 – synthetic organza top, strips of sari silk as wadding, calico base. Stitched with white thread. use of this semi-transparent top enabled the colour variations and folds in the silk wadding to show through.
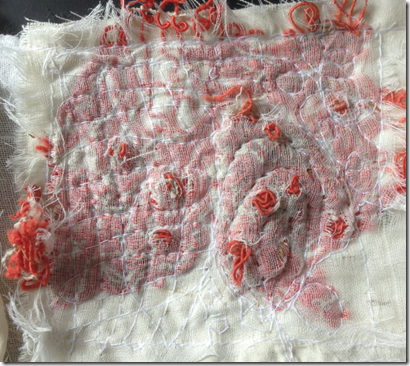 Image 5.5 – cotton scrim top, cotton fishing net wadding, calico base. The netting was placed on irregularly i.e. there were thick and thin patches. This was quite heavily quilted in places with white thread in some places, and less so in others to add to the variation in the height of the loft. I then snipped it in places to reveal the netting, which was found on the same beach as the rocks in my photographs in chapter 1. This is one of my favourite samples. The use of natural fibres and variety of smooth/low patches and higher patches with the net bursting through create a very exciting surface.
 Image 5.6 – Synthetic organza top, tissue paper strips as wadding, calico base. Stitched in white thread in shapes similar to the torn paper pieces. This produced a very flat, smooth sample.
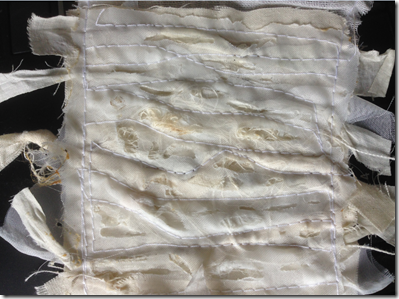 Image 5.7 – synthetic organza top, strips of knotted cotton lawn as wadding, calico base. Stitched along the length of the wadding strips and then melted in places to reveal the wadding. The textures of this sample were quite pleasing i.e. the bumps formed by the knots, the edges of the strips poking through the top layer, and the burned edges of the synthetic top.
 Image 5.8 – cotton lawn top. cotton wadding, calico base. Stitched in double lines (not a twin needle) with white thread and then punched with large tapestry needle to make holes. I was surprised at how effective the needle punch holes were. I can imagine this technique being used in my final piece to represent pebble areas.
Shaped quilting – for these samples I used a base fabric, added shapes made from various materials and then a top layer.
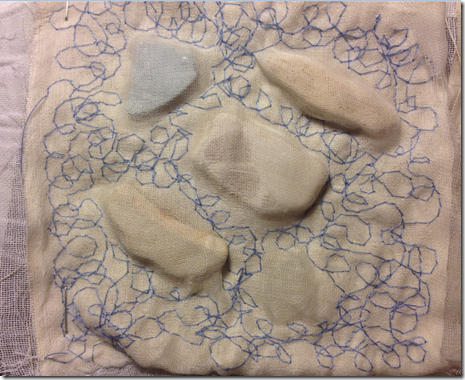 Image 5.9 – cotton scrim top, pieces of sea-smoothed pottery (also found on the same beach) and a calico base. Stitched with blue thread using free machine embroidery to fill the spaces around the shapes. I chose blue thread to echo the pale willow pattern on some of the pottery.
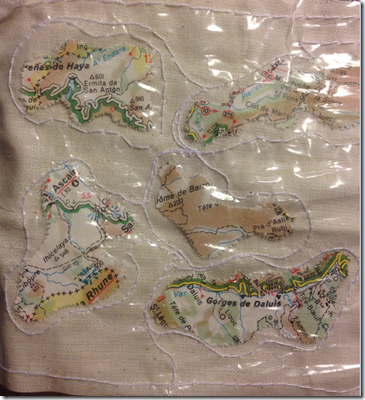 Image 5.10 – polythene top, map pieces as filling, calico base. Stitched around the shapes with white thread.
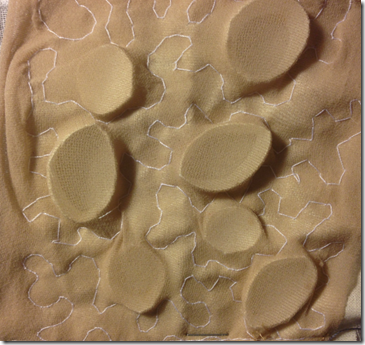 Image 5.11 – tights fabric top, slices of silk pod as filling, calico base. Stitched using free machine embroidery to fill the space around the shapes. I pulled the fabric tight over the silk pods to create dish-type shapes. I quite liked the slightly alien appearance of this sample.
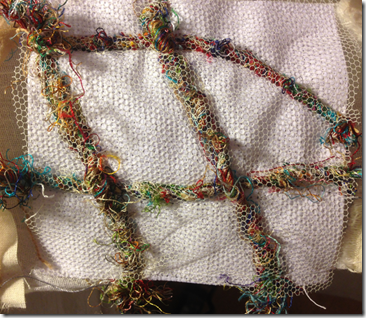 Image 5.12 – nylon netting top, cords of twisted threads as filling, stiff Aida base. Stitched along the sides of the shapes to hold them in place, and then snipped in places to further reveal some of the threads and add more texture.
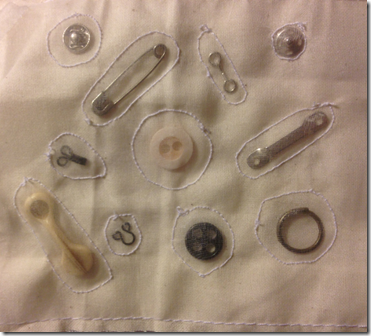 Image 5.13 – silk chiffon top, haberdashery items as filling, calico base. Stitched in white to outline the shapes.
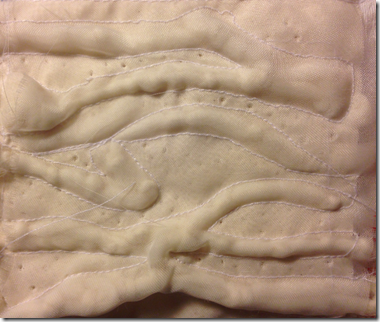 Image 5.14 – synthetic organza top with large needle holes punched in it, knotted yarn filling, calico base. Stitched in white to outline the shapes.
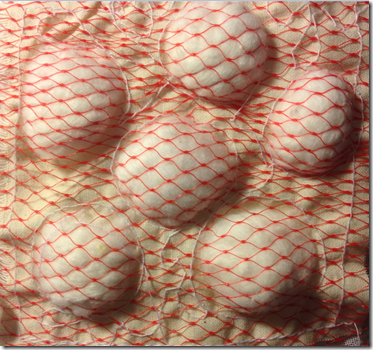 Image 5.15 – plastic vegetable netting top, cotton wool filling, calico base. Stitched in white thread.
Image 5.16 – synthetic organza top, small balls of wool fleece as filling, black cotton base. Stitched with white thread through a twin needle to create dense areas of stitching.
Padded quilting – for these samples I used a base layer and top layer, and then added stuffing afterwards.
Image 5.17 – cotton jersey top on calico base. I stitched these enclosed shapes and then slit the calico on the back and inserted synthetic wadding to fill the shapes, and then stitched the slits closed. I was pleased with the beautifully smooth, rounded shapes created with this technique and with the use of a twin needle to create an outline around the shapes.
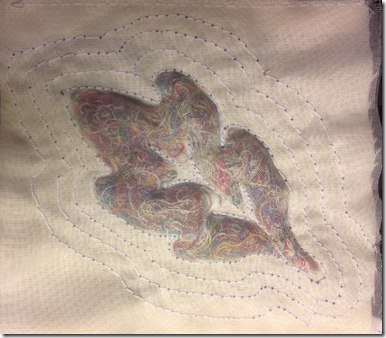
Image 5.18 – synthetic organza top on a calico base. I stitched the leaf shape and then stuffed it from a slit in the base fabric using a mixture of cut threads.
Corded quilting
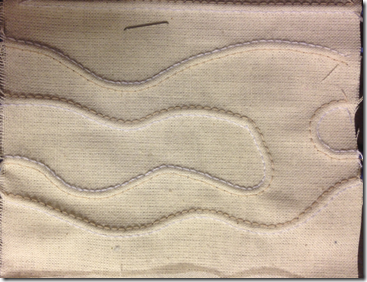
Image 5.19 – this sample has just one layer of fabric, I used calico. The cording was created using a twin needle and a thick thread fed through the hole in the footplate of my sewing machine. This was the first time I have used this technique and am very impressed with the simple texture that can be added to a piece of fabric in this way.
 Image 5.20 – in this sample I combined a couple of techniques i.e. corded and shaped quilting. I used a calico base, pale grey synthetic top and tiny balls of wool fleece as the shapes which I stitched around with cord through a twin needle. I am pleased with the landscape-like effect that this has produced. I had a go at trying to melt the surface of this sample with a candle which wasn’t particularly successful. I was hoping the fabric would pucker and shrink over the filling but it just melted into holes. I have ordered a hot air gun and will try again when it has been delivered to see if a more controllable heat source is more effective.
 Image 5.21 – in this final sample I used cotton lawn, loosened the bobbin tension and then cord quilted from both sides of the fabric. I then unthreaded the machine and stitched through the fabric to produce needle marks. I was very pleased with the sketch-like effect produced.
I have really enjoyed this chapter. My introduction to textile art was through quilting. I visited the Festival of Quilts and saw some of the workshops run by people doing strange and interesting things to fabric which made me want to know more! Using these three methods of quilting in explorative ways, ‘with non-standard’ materials, has been very informative about how they can be used to represent different textures.
