Fabrics and threads in my colour scheme
In preparation for the rest of the module I gathered together threads and fabrics in my colour scheme.
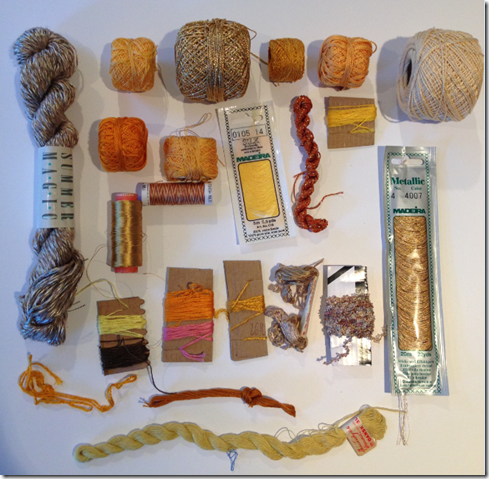 Image 3.1 – Threads in my yellow / ochre/ raw sienna colour scheme. This includes metallic threads, silks, linen thread, boucle, perle cotton and machine thread.

Image 3.2 – Threads in my blue / Prussian blue colour scheme. This includes metallic threads, silks, perle cotton both plain and variegated, machine thread, fabric cord and wool.
I also gathered some items that I found on various walks to use for the cores when making cords as shown below

Image 3.3 – Clockwise from top left: un-spun lambs wool, ribbon, baler twine, fishing line in various weights and colours.
I dyed some piping cord and old cotton lace for use as cord cores

Image 3.4 – Old cotton lace and piping cord dyed using Procion cold water dye in Old Gold and Cobalt Blue with a small amount of black to each to get them closer to Prussian Blue
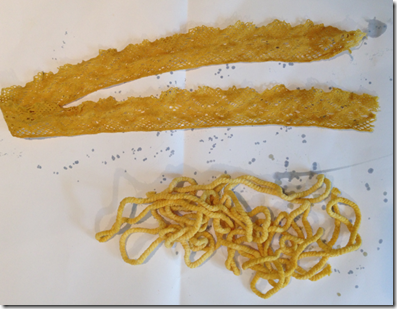
Image 3.4 – Old cotton lace and piping cord dyed using Procion cold water dye in Old Gold and Cobalt Blue with a small amount of black to each to get them closer to Raw Sienna
Other items gathered: 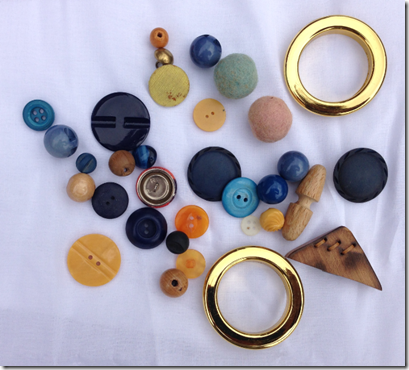 Image 3.5 – buttons in various sizes, plastic and wooden beads, large metal eyelets, toggles, wooden shape, felted balls
Coloured fabrics
I gathered any fabrics that I already had in my colour scheme, most of which were silks. As these aren’t quite the right shades for my scheme I may use them as the base for heavily decorated items later in the Module, or may decide not to use them.
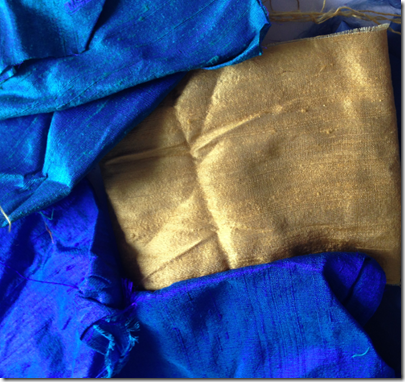 Image 3.6 – silk fabrics
To add to these I chose to dye white cotton lawn to make more fabrics in my colour scheme.
I used Procion cold water dye in Old Gold and Cobalt Blue as these were the closest I could find to my colour scheme, and added a small amount of black to each to get them closer to Prussian Blue and Raw Sienna. The results are below:
 Image 3.7 – For this sample I used my cobalt blue / back dye mix. I used a wax candle to draw a spiral pattern onto the dry fabric first to act as a resist. I thought the wax would create white swirls, but actually it created slightly darker areas. This sample looks more blue in reality than it looks in the photograph as I struggled to capture the colour by camera.
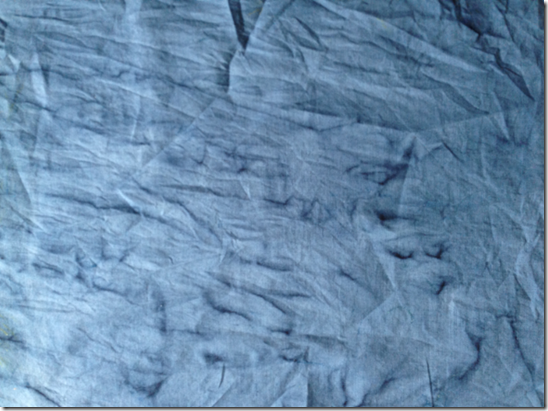 Image 3.8 – This sample was made with the same dye mix onto dry fabric and left screwed up in a plastic bag for about an hour. I was pleased with the variation in the way the dye took to the fabric.
 Image 3.9 – For this sample I used the same dye mix, put wet fabric into a bag, added some dye and rubbed it around which resulted in this slightly marbled effect.
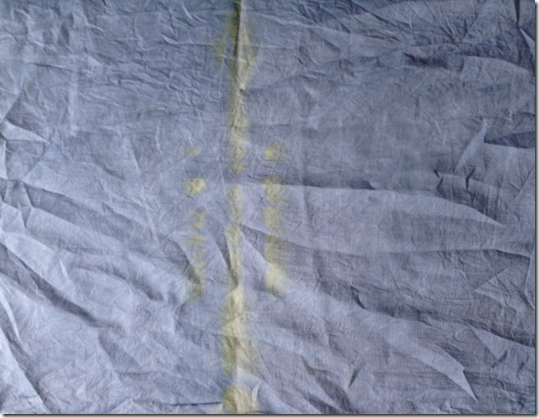 Image 3.10 – For this sample I used the same dye mix on wet fabric and fully immersed it for about 20 mins. I then rinsed it and left it folded in half to dry on top of the Rayburn stove. The yellow coloured lines were formed where it was folded and got close to the hotplate and the heat affected the colour.
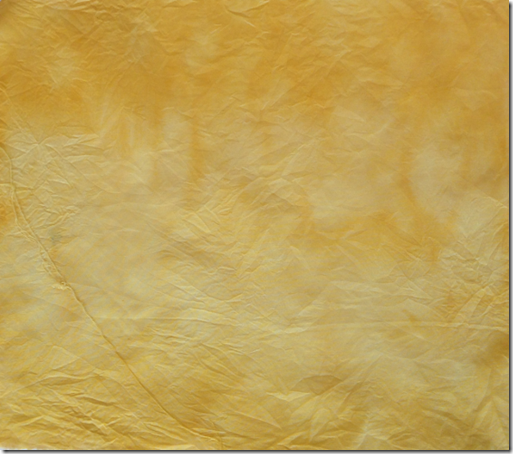
Image 3.11 – For this sample I used my Old Gold/ back dye mix, put wet fabric into a bag, added some dye and rubbed it around which resulted in this marbled effect.
 Image 3.12 – For this sample I used the same dye mix on wet fabric and fully immersed it for about 20 mins. I then rinsed it and left it folded in half to dry on top of the Rayburn stove. The side which was touching the hot stove top (the left hand side in the picture) dried to a lighter, more even colour whilst the other side retained more colour and variation. Whilst this is a convenient, quick way to dry fabrics it was useful to note that it does affect the colouring.
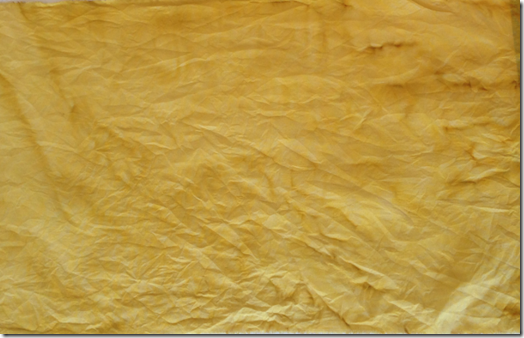
Image 3.13 – This sample was made with the same dye mix onto dry fabric and left screwed up in a plastic bag for about an hour. Again, I was pleased with the variation in the way the dye took to the fabric along the crease lines.
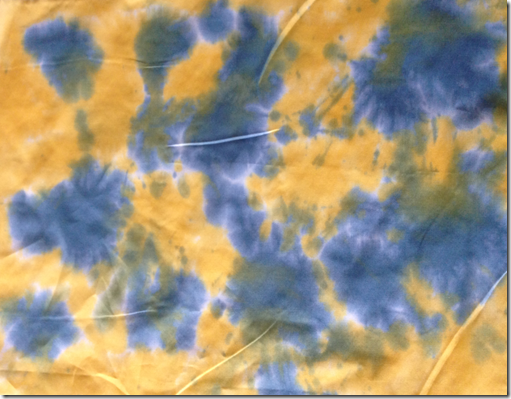
Image 3.14 – For this sample I used a syringe to ‘splat’ the dyes onto dry fabric. This enabled me to keep the two colours quite distinct.
 Image 3.15 – Stripes created by using a syringe to create lines of dye which bled in to each other.
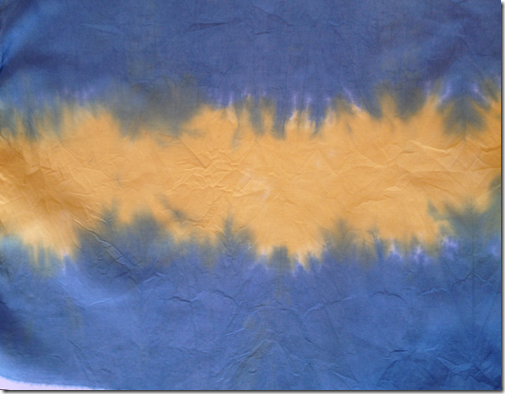
Image 3.16 – Stripe created by dip-dying the fabric whilst dry.
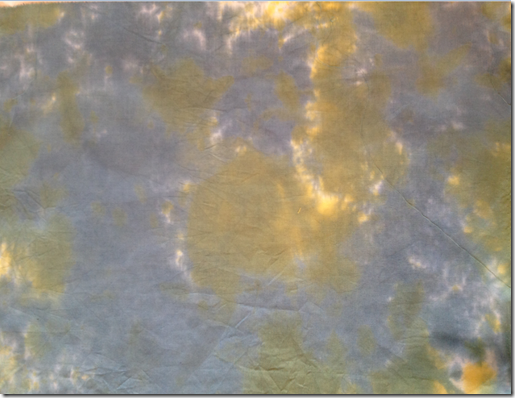
Image 3.17 – Mottled effect created by random dying.
I scrunched up the wet fabric and put it into a bag and added the blue and yellow dye mixes. I think it looks a bit like an satellite photo of the world!
Monoprinting
I decorated some of my dyed fabrics using fabric paints and a gelli plate.
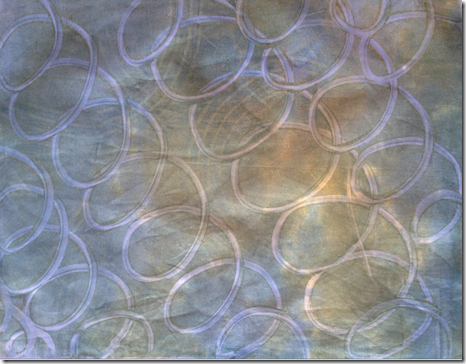 Image 3.18 – This sample had two layers of print using blue fabric paint; firstly some concentric circles and then telephone cord spirals.

Image 3.19 – This sample had two layers of print: the first layer was using a metallic gold paint and the second was blue fabric paint spirals
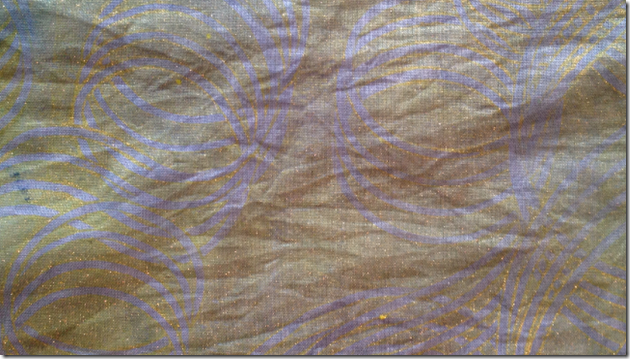
Image 3.20 – One layer of print using a mix of yellow and metallic gold paint.
The pattern was created using a fork to create spirals. The pattern reminds me of Rennie McIntosh’s rose print designs.

Image 3.21 – One layer of print using blue paint and a fork to make concentric spirals.
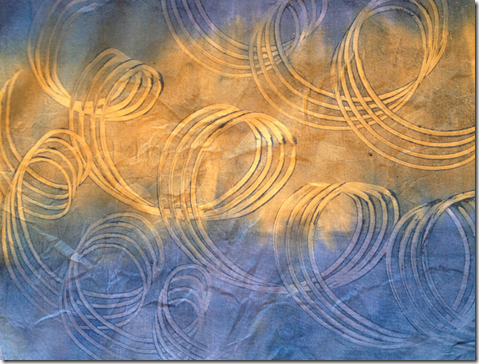 Image 3.22 – One layer of print using blue and gold paint and a fork to make telephone cord spirals.
 Image 3.23 – One layer of print using yellow and gold paint mix and a rubber to make telephone cord spirals.
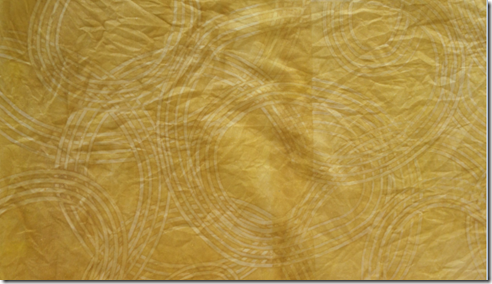
Image 3.24 – One layer of print using yellow and gold paint mix and a fork to make concentric spirals.
Rust dying
Over many months of dog-walking on the beach I have collected some interested pieces of rusted metal as shown below.
 Image 3.25 – found rusted items
I decided to see whether any interesting effects could be achieved by using some these to add interest to a linen fabric that I had already dyed using my yellow / black dye mix.
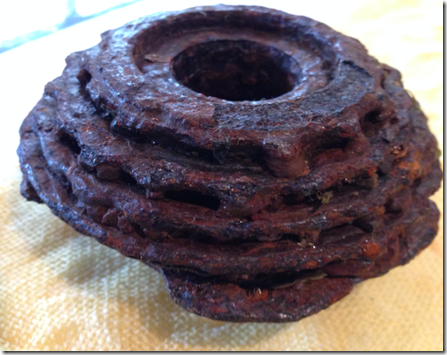 Image 3.26 – rusty cog-wheel
Firstly I chose this rusted cog-wheel as I thought it might give some spiral shapes. I wrapped wet linen around the rusted object, bound it with rubber bands and left it in a bag for 48 hours. The effect is shown in image 3.27 below:
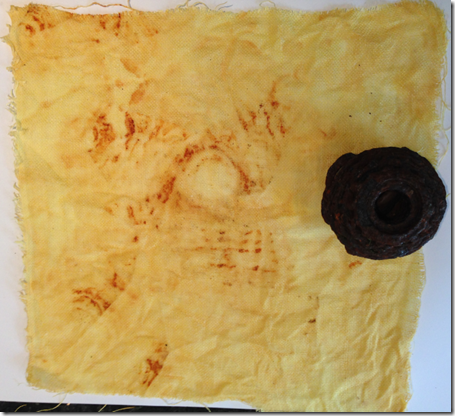
Image 3.27
Whilst the effect wasn’t spirals, I was pleased with the interesting marks created.
I also tried using a rusted spring as shown in image 3.28 below:
 Image 3.28
This created slightly more spiralling marks, though not as dark as the sample made from the cog wheel. I was in a bit of a rush to develop these rust marks so that I could use them for this Module. Another time I would leave them to develop longer to see if the depth of colour is enhanced at all.
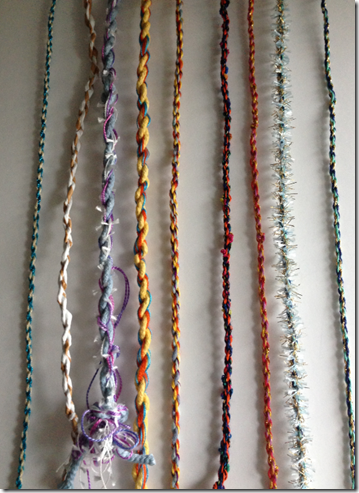
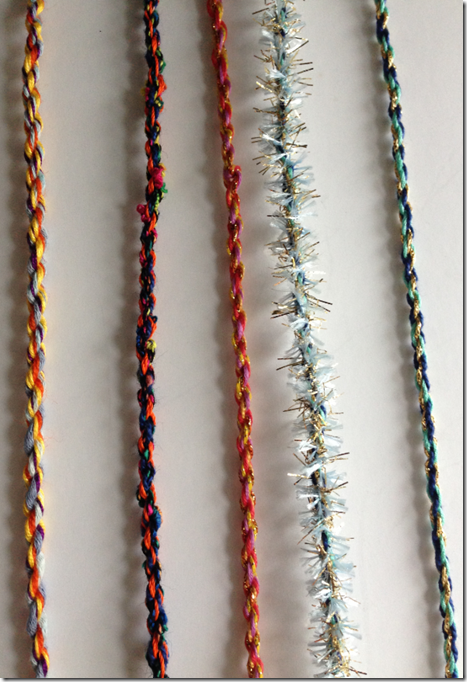
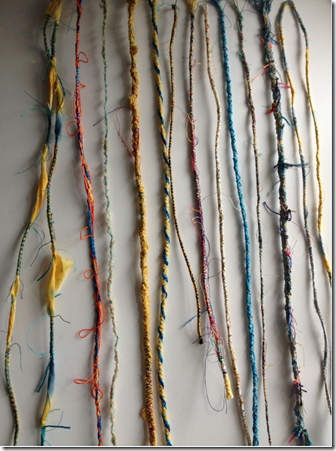 Image 5.1 – machine stitched cords.
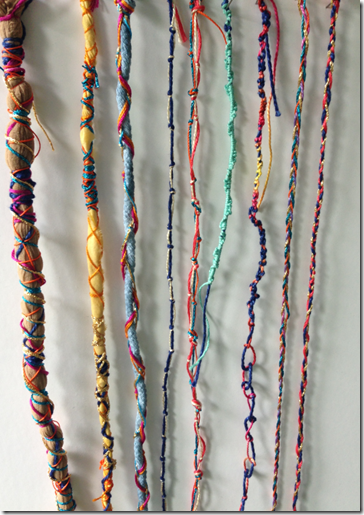
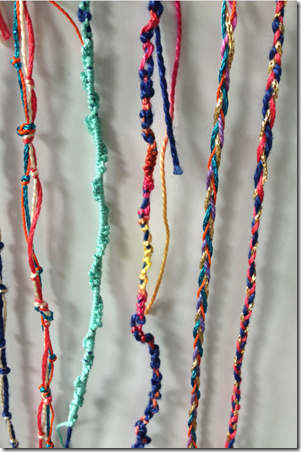
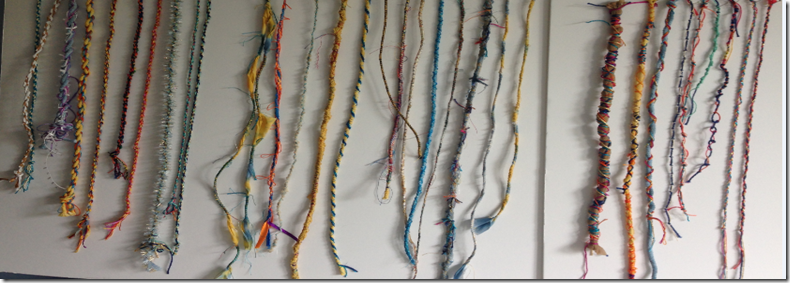 Image 5.11 – the full set of cords


